|
|
|
||||||||
|
|
|
||||||||
Thirteen - 1967 Spitfire MKIII Specific Tasks and Procedures |
|||||||||
|
|||||||||
|
|||||||||
|
|||||||||
|
|||||||||
|
|
|
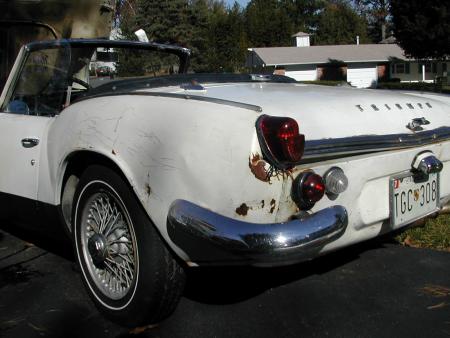
Well I guess this is where it begins. The p.o. had parked the Spit out in the street in front of house for the first time in the twenty+ years he owned it, so he could park his new Corvette in the garage. Sure enough... some A--hole hit it and left without a note. The rear corner of the fender at the tail light got punched in, and the side crinkled. The tail light is just bolted on for looks. So I guess this is where I'll start. |
|
|
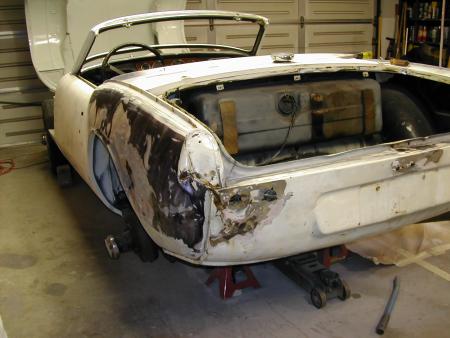
Back in my garage, after removing the paint to bang out the fender...WOW! look at all that bondo! Looks like I've got a lot more work than I thought ahead of me. Maybe I'll just replace the fender completely. Nah... hammer and dolly time. |
|
|
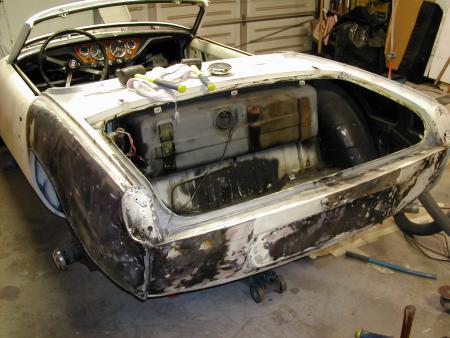
After 3 hours of chiseling out the old bondo, I spent another 10 hours of hammering out the sheet metal. I guess the p.o. simply took a short cut or didn't know how to use a hammer and dolly. The inner fender made it tough to get to some of it, but a few custom made tools... and I got it pretty flat. (well...curved as designed) A ton of sanding, and then a good coat of Extend (rust buster) blackens the metal, converts the rust, and leaves a good surface for primer to adhere to. |
|
|
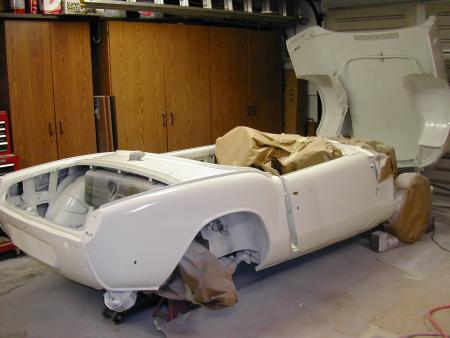
Well after remounting the bonnet, the whole car was primered, sanded, primered again, sanded, sanded again, and finally a coat of primer sealer applied. Then today, 1/13/04, (wow...there's that 'thirteen' again) it got three coats of Leyland white PPG DAR Urethane. I mix in Reducer and hardener to get that wet look. |
![]()
©1987-2010
All material copyright© Teglerizer 1996-2008last edited
3/15/08

hits since last reset


index