|
|
|
||||||||
|
|
|
||||||||
Thirteen - 1967 Spitfire MKIII Specific Tasks and Procedures |
|||||||||
|
|||||||||
|
|||||||||
|
|||||||||
|
|||||||||
|
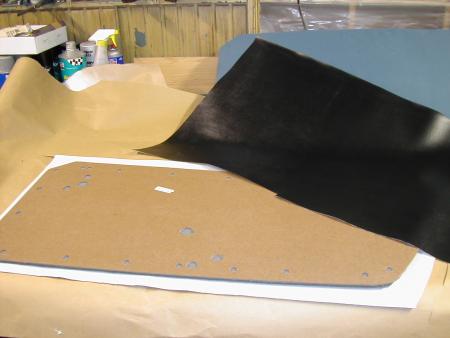
| Just as before on my other restorations, I just can't see spending almost $100.00 for a pair door panels when they're so easy to make so cheaply. Two masonite hardboards, car headliner foam, and new vinyl, only costs about $25.00 to assemble a set. If you want originality, and your original vinyls are OK, there is no reason you can't simply reuse them, rather than new vinyl if desired. The reconstruction process is the same. |
|
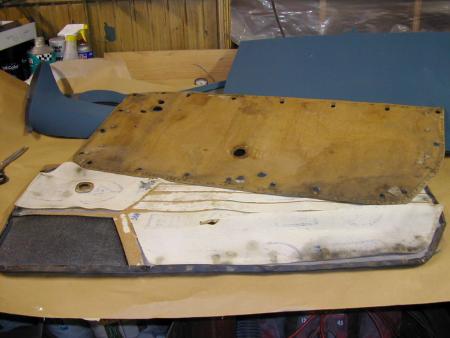 |
As usual, these
panels were all warped from moisture. The vinyl was in good shape, but the two panels on
the car did not match. To disassemble, just carefully go around the parameter of the old panel and remove all the stables, door clips and etc. |
 |
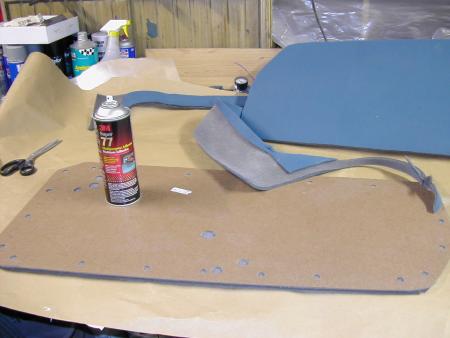
Just
like on past panels, the process of
making new panels is rather straight forward. Here's the orig. panel, on a fresh new panel that has foam already attached. |
|
Spray glue is used to attach the foam to the panels. I glue the foam to the board as I've found this works better,...leaving the cloth side for gluing the vinyl onto. (less wrinkles over time) |
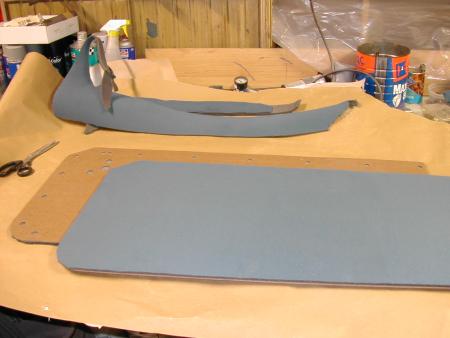 |
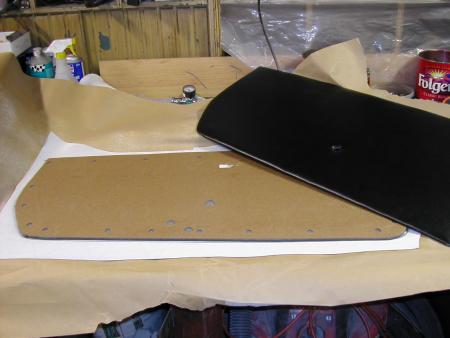
The second panel is simply a mirror image of its counterpart. Just make sure you glue to the correct side (mirror images of each other.)
|
 |
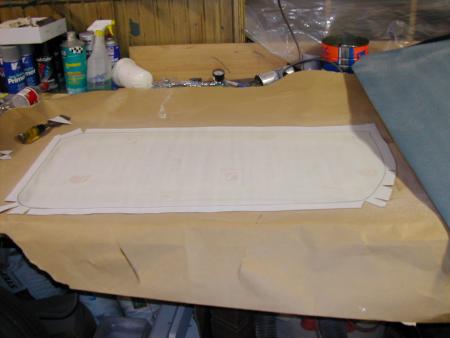
Cut out a section of vinyl about two inched larger than the panel size. |
|
Lay a panel on your vinyl, and trace an outer parameter line. I like to then cut 'tabs' that will be pulled over the back edge for attachment. DO NOT cut the 'V' notches all the way up to your line. If you do the cut will end up exposed after glued in place. |
 |
You don't have to be 'neat' here.
I literally slop the contact cement on here. A layer on the back side of the vinyl 'tabs'
and on the back side of the board. The tabs are not critical. You're simply removing the overlap that would occur it you tried to fold ALL the edging over. |
 |
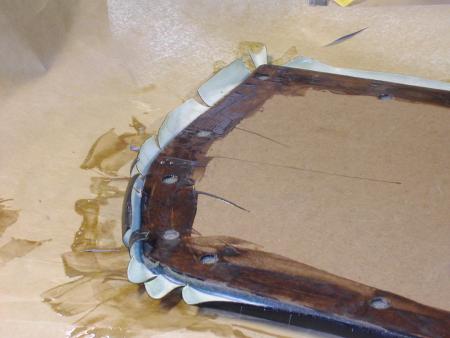
First panel wrapped.... second in prep.
stage. A razor blade is used to cut X's where the door window handle and etc are. DO NOT cut out a large circle. You won't be able to hide it behind the handle trimwork. |
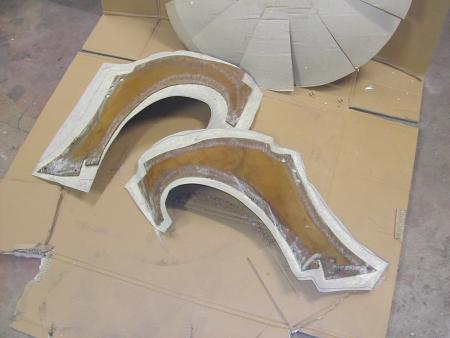 |
The rear arch panels were sound, but he vinyl was ripped from the ragtop frame sitting on it. So I simply cut out and glued, new vinyl to them. This is a picture of the back sides of the panels just prior to wrapping the 'tab's around the edges. Again, a razor blade is used to 'trim to fit' as the edges were wrapped and glued in place. |

|
The rear most panel was in good shape,
just very sun bleached. So it simply got a re-spray of black vinyl dye.
|
![]()
©1987-2010
All material copyright© Teglerizer 1996-2008last edited
3/15/08

hits since last reset


index