|
|
|
||||||||
|
|
|
||||||||
Big Red - 1973 GT6 MKIII Specific Tasks and Procedures |
||||||||||||
|
||||||||||||
|
||||||||||||
|
||||||||||||
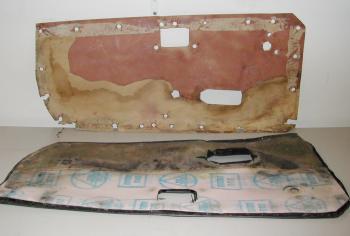
| I just can't see spending almost $100.00 for a pair of interior door panels, so I always make my own. Two masonite hardboards, car headliner foam, and new vinyl, only costs about $20.00 to assemble your own. |
|
|
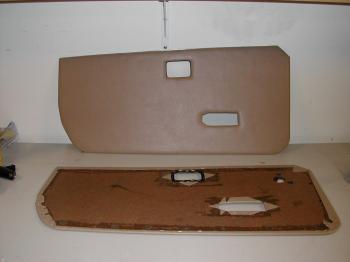
The original panels were of
course all warped from moisture. Although I won't have the carpet at the bottom the new
panels will better insulate and won't be as prone to warping. Carefully go around the parameter of the old panel and remove all the stables, door clips and etc. |
|
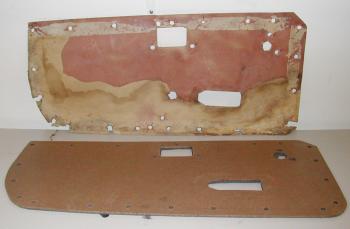
Be careful to not
damage what little may remain of your original backing board. I use 1/8" hardboard (un-perforated pegboard) panels from a local Home Depot hardware store as my new backing boards. Cost, about $2.25 each for a 2'x4' x 1/8" thk board. |
|
Lay the old panel on one
ands simply trace it out including all holes for bolts and door handles etc. Now clamp or
nail the two hardboards together. Since the panels are mirror images, you'll only need to drill and cut once to produce two panels. I like to drill all the holes first, then cut out the parameters. |
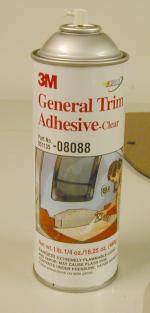
For a little padding I've found 'car headliner' material from a local Jo-Ann Fabrics store for under $7 a yard. One yard will cover both panels with material left over. It's about 1/8" thk. and is faced on one side with material. I use spray adhesive on the board, and lay the headliner material foam side against the board. Then a razor blade makes quick work of trimming it to the size of the board. DON'T press hard on the foam, or you'll compress and glue the thickness of the foam together and to the board. |
 |
||||||||||
|
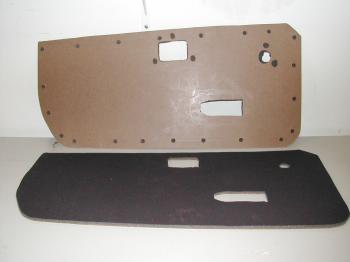
I like to have the 'smooth' side, face the elements. So remember to lay out your two boards with the right faces facing out/in to mirror the two panels. Then simply cut them out with a jigsaw. I then glue headliner foam on the panel for a little extra touch. I put the foam against the panel with the cloth facing against the vinyl. (easy gluing) | ||||||||||
|
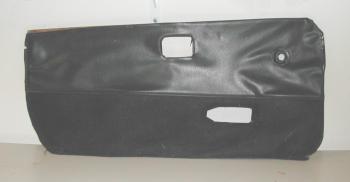
Simply spray glue on the cloth surface of the foam. Spray a coat on the back of the vinyl as well. Lay the vinyl on the table, and lay the panel on the vinyl. Press evenly on the board, flip it over and smooth it out. Flip it back over, and start pulling the edges over the back. Staple as needed. A Razor blade and a lot of little slits makes the round edges easier. | ||||||||||
| Again, Jo-Ann Fabrics carries at least 15 colors of vinyl, in different weights. Both coarse and fine grain. Every color these cars have ever come in, they carry. Again, only about $7 a yard, and one yard will cover to panels with material left over. So...thus far I've only spent.... |
|
||||||||||
|
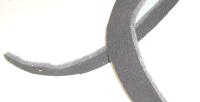
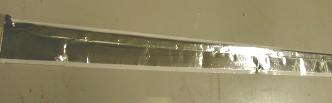
I was even able to re-add the original chrome strip top trim. I wrapped the broken, aged, OEM plastic chrome strip with aluminum tape. I put it in place with the extra width as added 'attachment (taped down) and staple it in place. | ||||||||||
doing the rest of it |
|||||||||||
©1987-2008
All material copyright© Teglerizer 1996-2008last edited 03/18/10

hits since last reset


index